AI Job Researcher Settings
Last updated: October 9, 2024
To start using AI Job Researcher, you need to add settings for your bot.
Let’s analyze how to set up AI Job Researcher step by step.
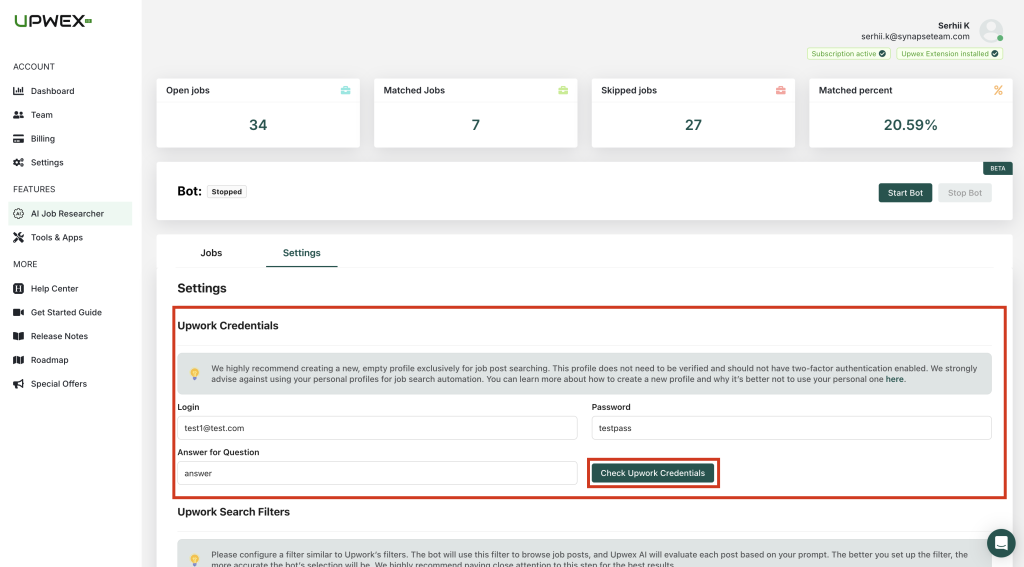
1. Upwork Credentials is your Upwork profile from which the AI Job Researcher will search for jobs (if you’re worried about your main Upwork profile, you can create a new one and give the bot access). To check the correctness of the entered credentials, click Check Upwork Credentials:
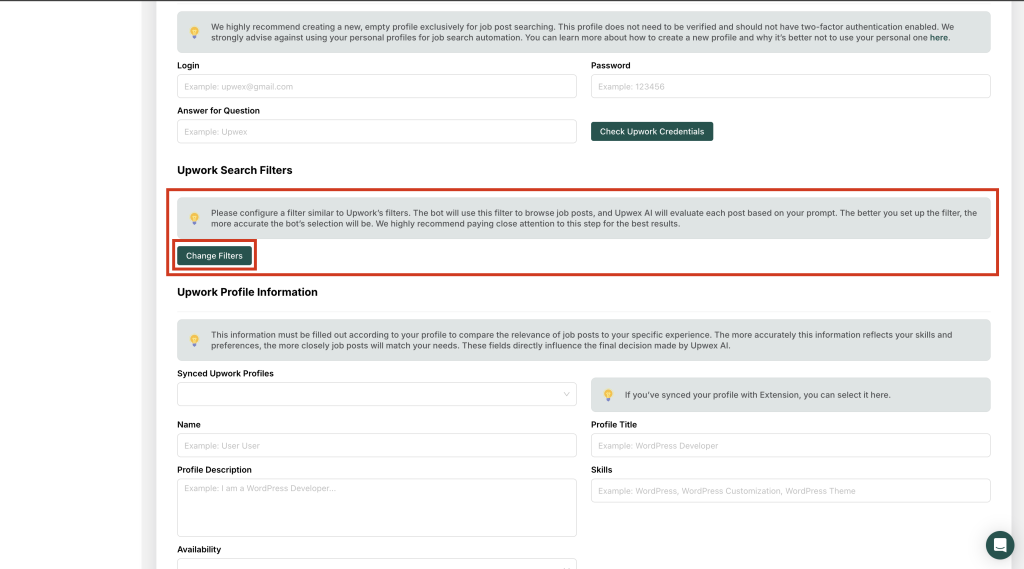
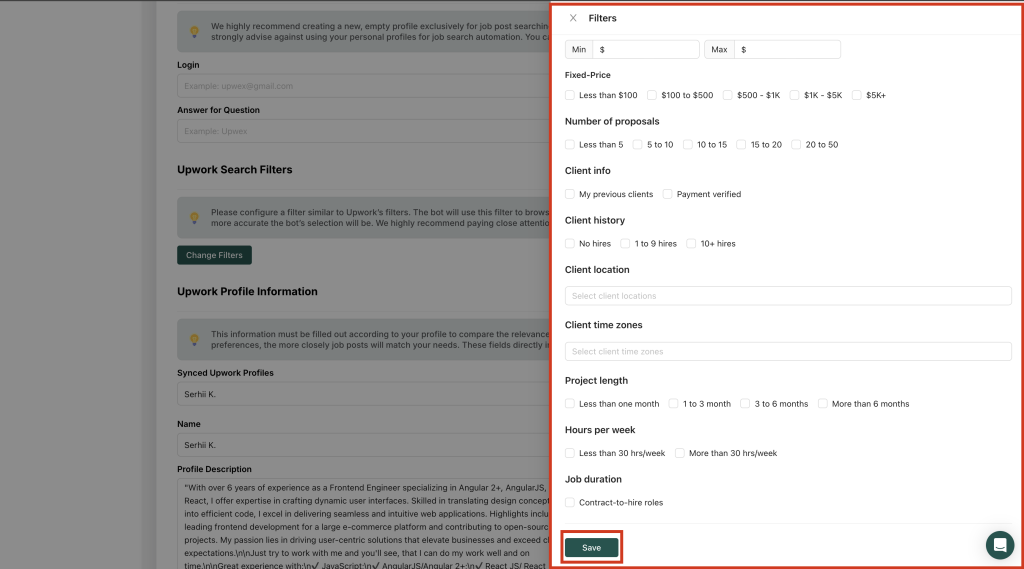
2. Upwork Search Filters are standard filters that you can use to filter your Upwork search. To change them, click the Change Filters button:
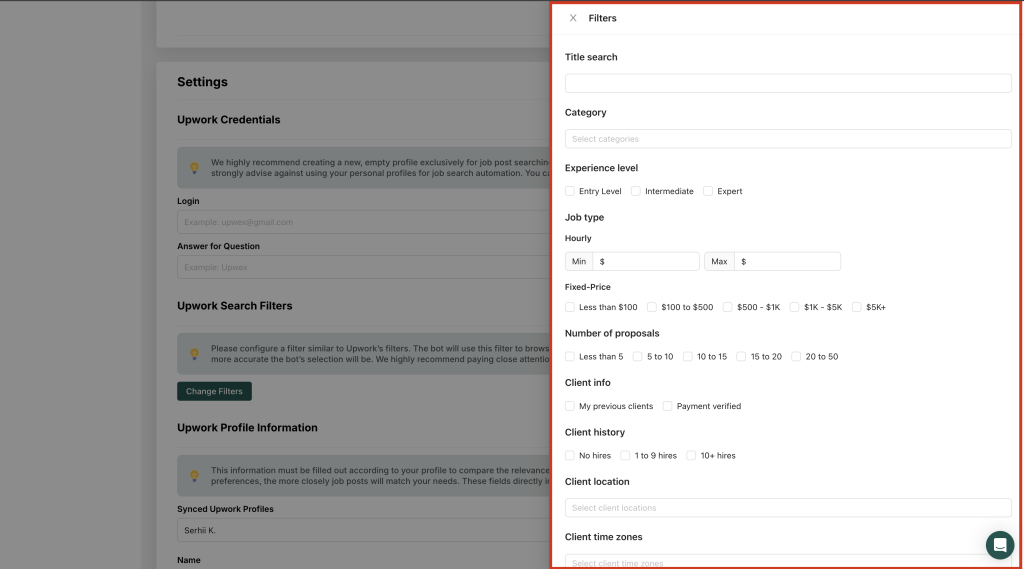
- A window with detailed filters will open:
- After filling in the fields you need to filter jobs, click the Save button:
3. Upwork Profile Information is the information with which the bot will compare the found jobs and the freelancer’s Upwork profile to conclude whether this job is suitable for you to apply for or not:
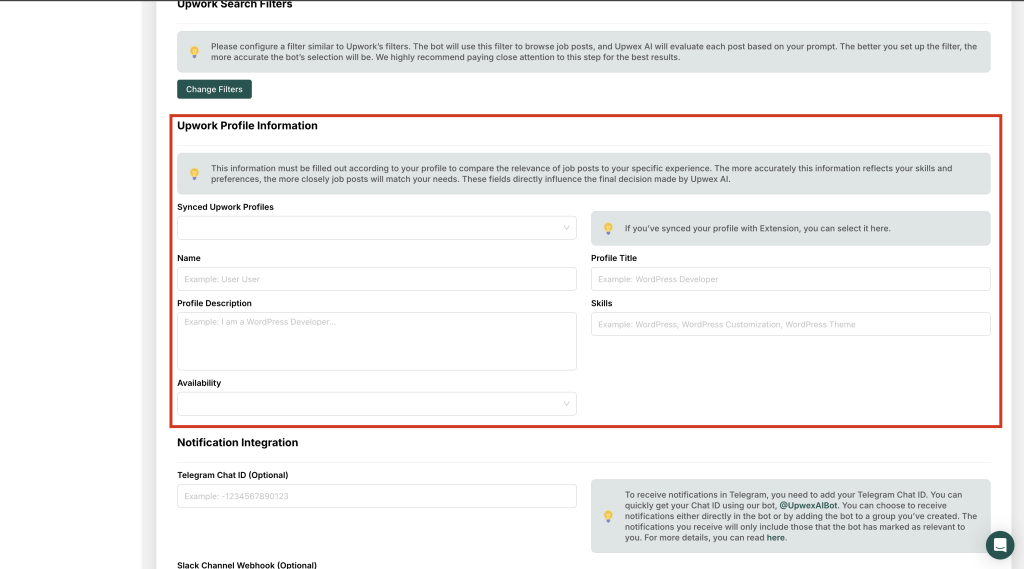
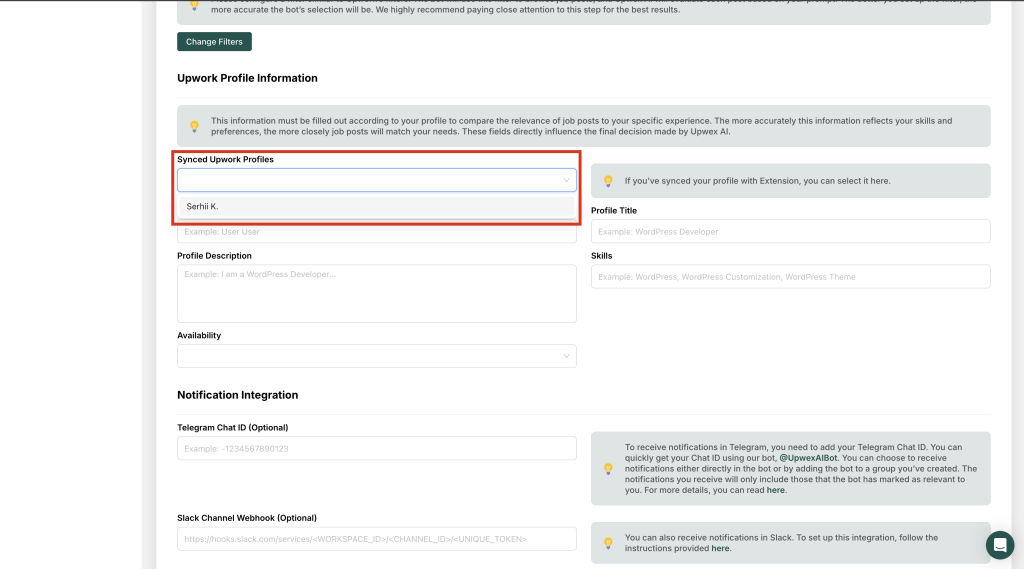
- In order not to fill in these fields manually, you can choose one of the previously synchronized profiles (how to do it – the article):
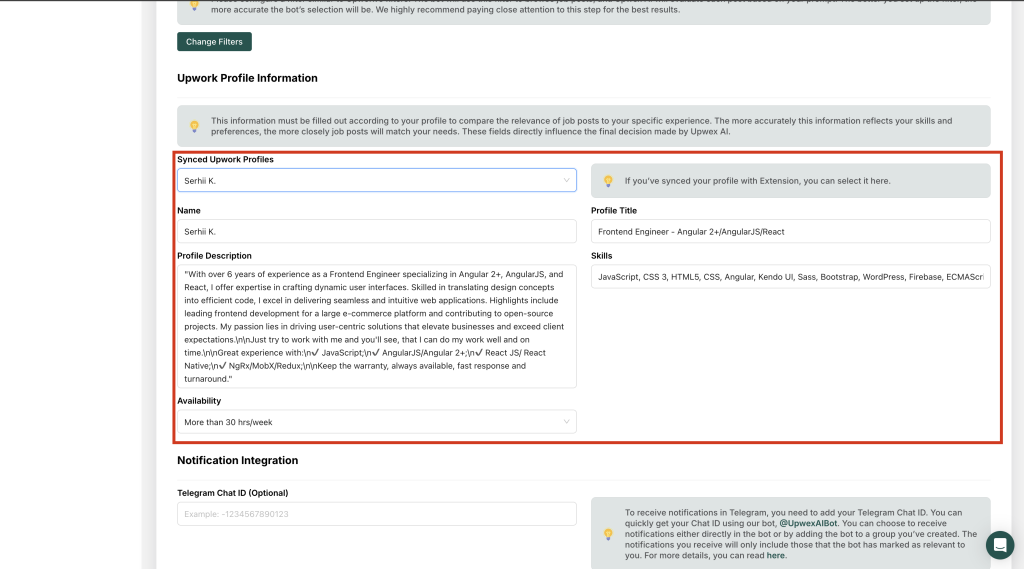
- After selecting a profile, the information is automatically filled in the form:
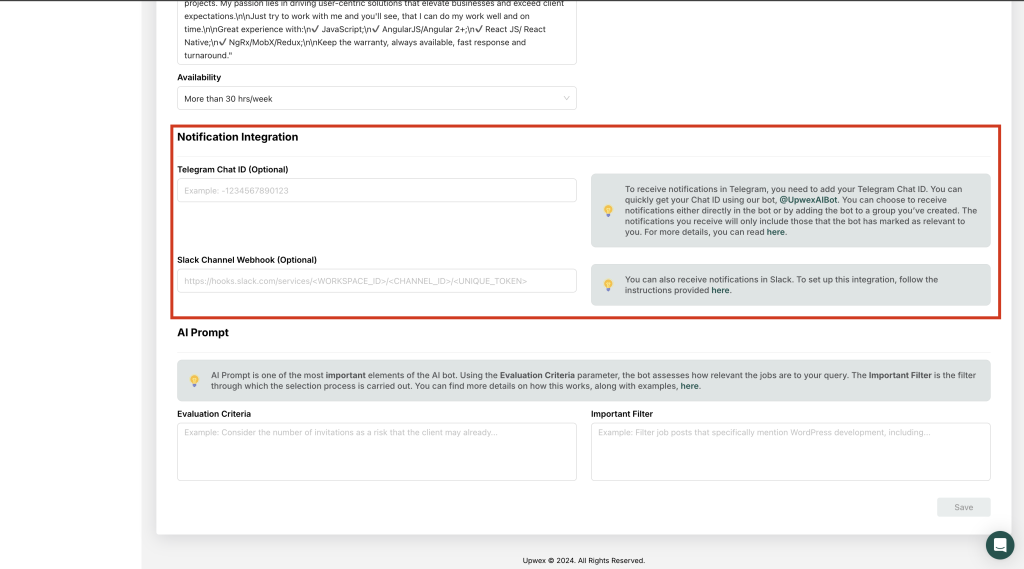
4. Notification Integration – this item is optional, but if you want to be notified when the bot finds a suitable job for you, we recommend adding it.
Notification integration supports:
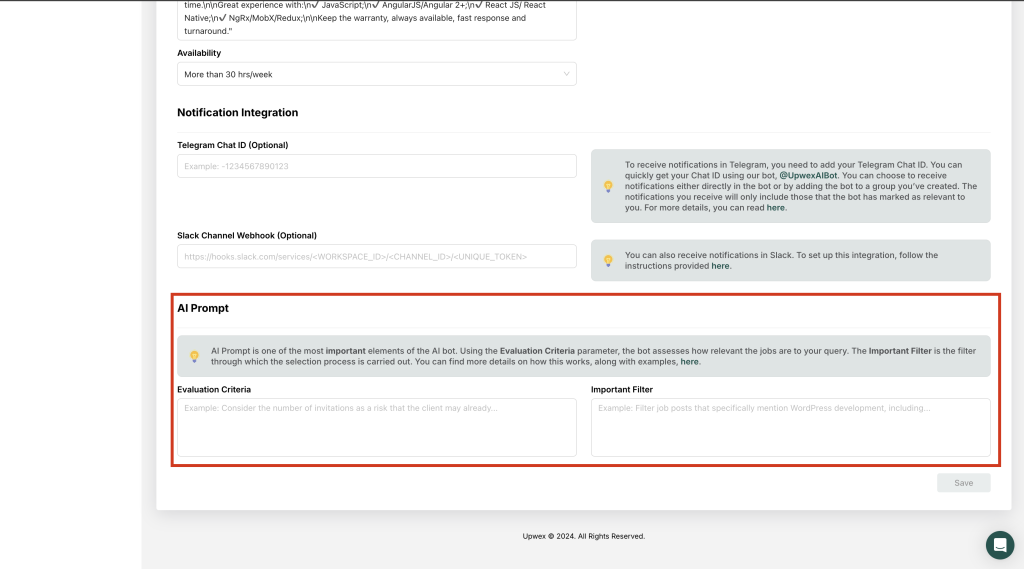
5. AI Prompt – is one of the most important points of the AI bot.
- Evaluation Criteria – the bot evaluates the extent to which vacancies meet your request
- Important Filter is a filter through which the selection process is carried out.
More details on how this works, along with examples, can be found here.
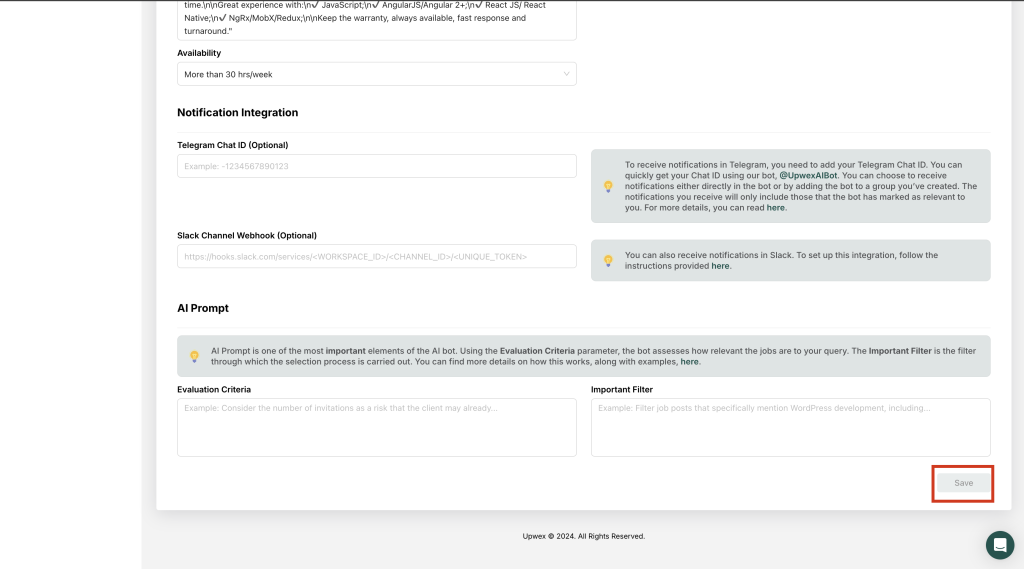
6. After filling out the form and all the required fields, click the Save button:
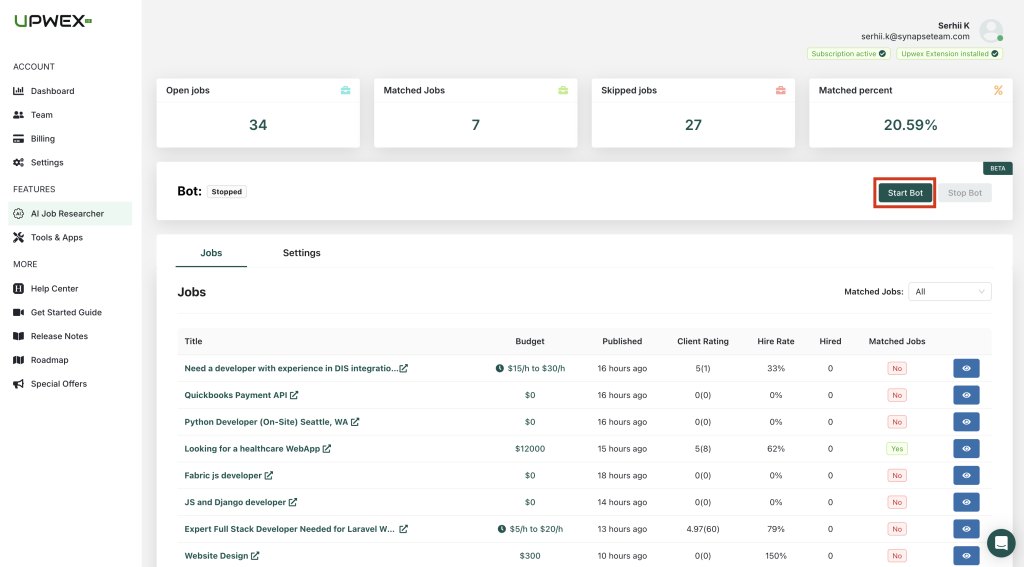
7. Your bot is ready to go. To start the bot, click the Start Bot button: